 EILEEN'S FAVORITE CAMP CRAFTS
Preschool Project
Page
Preschool Clay Memory Book
This project can be done by
people of all ages.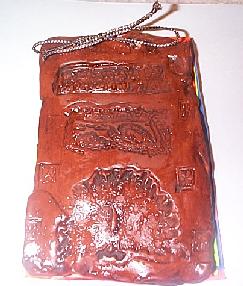
Terra Cotta Polymer Clay Book CoverI
wanted something different that parents could keep as a real keepsake. I know
preschool parents keep for years all of the "precious" things their children
make. But I wanted something really special. The parents agreed this was it!
We made a polymer clay cover for a small memory book. We made two styles. One
with a picture of each child baked into the clay and the other plain. A couple
of the teachers helping me while they learned to use polymer clay, did not want
their own picture on the book. So we made a couple plain. The sculpey clay
started out in a terra cotta color. Because I was a visiting teacher for an
after school program, I took my projects home with me to bake and finish. I have
to admit I did a lot of work on this myself. I cut the pages to size and punched
the holes, and threaded the books. I also antiqued the clay and glazed after
baking. I really do not suggest the antiquing around preschool kids unless they
are fully covered with a smock etc. It is easier to paint myself. It was worth
my effort!
Materials:Sculpey Clay In Bulk Box - Terra Cotta
ColorHome oven or toaster ovenWax paper or parchment for each
child to keep clay and tables clean.
Plus parchment to line glass dishes when
baking.Glass (pyrex) pans 8
by 11" card stock in neon colors for the pages of the book.Neon or
other colors of poster board for to glue to finish clay for inside cover.Metallic cord lacingClay
rolling pin or pinsSculpey Matte glazeHole PunchMetal
Pointy Clay Tool for making holesRubber StampsFaster Plaster
Brown Antiquing PaintPaint BrushFor Picture Frame
Books: Digital CameraComputer and Printer
Or xerox copy in
color or black and white of picture.Sobo
Fabric/craft glueAluminum foil for teacher to use under drying
pictures, glazing, antiquing or gluing. Projects will peel off of the aluminum
foil.
To personalize (not shown):
Metallic Marker
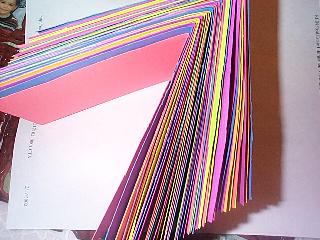
Card Stock In Neon Colors
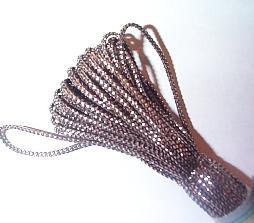
Metallic Cord Lacing
Directions:Picture Frame
Book- Making the Picture. The class
before take a picture of each child.Print if regular camera and then
xerox. (Black and white or color.)OR use Digital camera and print with computer
printer.Resize if needed to a smaller size picture.Cut to
shape and size you want.Paint with brush a coat of Sobo glue on the top
and let dry.When dry do the same for the back. Make sure to work on aluminum
foil.The glue dries to a nice glaze and lets you bake the picture in the oven with
out the picture burning.
Clay Instructions:
Give each child enough clay to make the size cover you want.
I wanted to
end up with only a small book so I used about 1/8th of the box per
child.Give each child a piece of wax paper or parchment paper for a
clean work surfaceLet them play with the clay to soften and condition
this gets out all air bubbles that can cause cracking in the oven.The
terra cotta sculpey softens in only a few minutes.Give each child a
piece of the poster board that you already cut to the size cover you
want.Give each child rolling pin or something thing to roll with.
Roll the clay to fit the size and shape of the poster board.
They
may need help with this.If they are making a picture frame book, place
the picture for them where you want the pictureGive them a little bit
of clay for them to roll into snakes to make a frame around the
picture.Supervise them rubber stamping the book cover. They just need
to softly stamp with NO INK onto the clay.Make sure to use the metal
clay pointer or something to make two holes on the top of the book cover to use
later to string the book together. I did not measure neatly and this caused more
work for me later!If this is a picture book you do not need to label
the clay.If this is not a picture book, put their initials or name on
the clay with your pointy tool.Carefully peel the poster board off of
the clay before baking. Save the poster board for later.Bake in a
toaster oven or regular over
according to the directions on the clay box. (USE A FAN or in a well ventilated
room.)I use my home oven and line the pryrex glass pans with parchment
paper as I often use pans for other things and want to keep the chemicals off of
the pans.After baking and cooling, place on aluminum foil.Paint
with the antiquing paint, covering the entire piece.Wipe off imediately
with a paper towel or a damp paper towel if it dried to long. The painting gives
the clay a leather or wood look.When dry paint one coat of sculpey
glaze in a matte finish.When dry, turn over and glue the poster board
square you used as a measuring tool. This step may not be needed but I liked the
color and adding a little more strengh.
To make the inside book:I
liked using a variety of colors for the inside of the book. I cut the card stock into roughly fourths for
our books. Placing about 4 sheets doubled to make 8 pages under the clay, (or how many you
want.) I marked with a pencil the spot where I needed to punch or poke the holes
for stringing.I found my metal pointer worked better than using a hole
punch through the 8 sheets.String the cord from the back to the front
of the book.Tie cord into bow.
To personalize:
Use metallic
marker and paint their name and the date or year they made this book.If you
are working with older kids or have extra helpers you can emboss or rubber stamp
the personalized page. If you don't supervise they may stamp too many pages and
you really want to send home blank pages for the parents to fill. |
Examples of Preschool Memory Book with Picture Frame
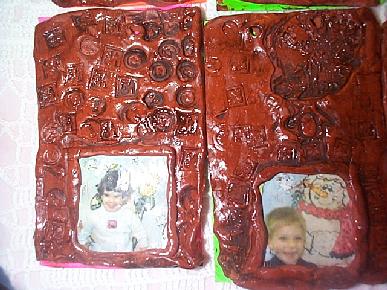
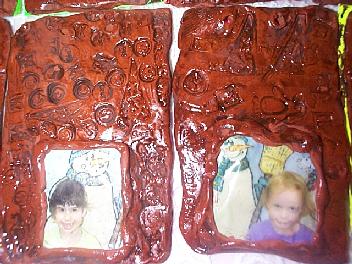
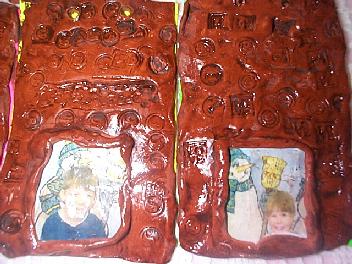
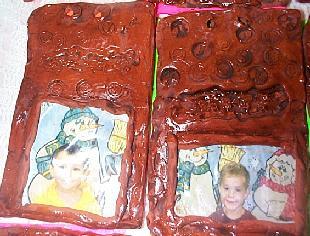
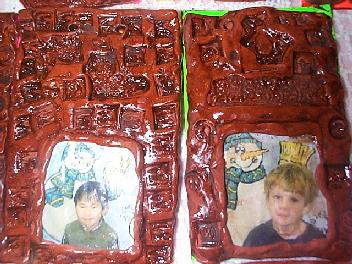
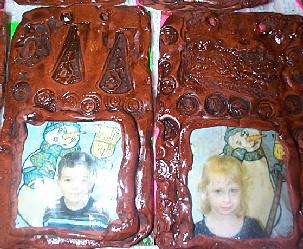
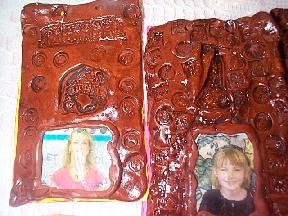
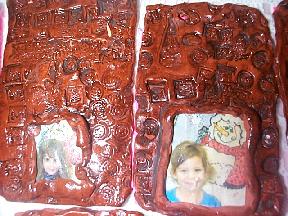
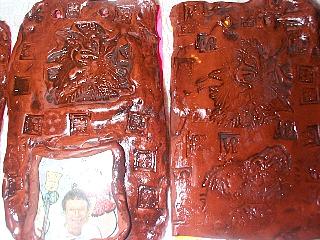
Examples of books with out pictures.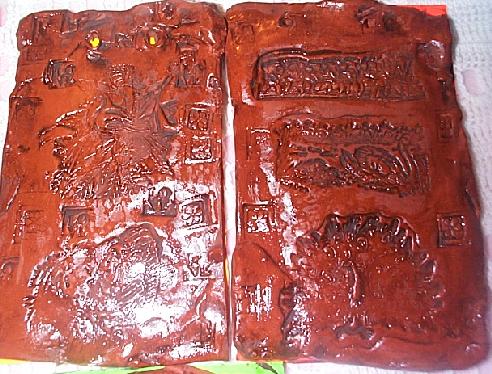
|


 Future
Craft Lesson Pictures


 Future
Craft Lesson Pictures


